Ableton Live Teleprompter: Set Up Scrolling Lyrics for Live Shows Once, Then Forget About It
You already trust Ableton Live to run your show. Your backing tracks, click, cues and automation all live inside one Live Set. So why are your lyrics still on paper, on a phone taped to a mic stand, or on a separate tablet running an app that has no idea where your song actually is?
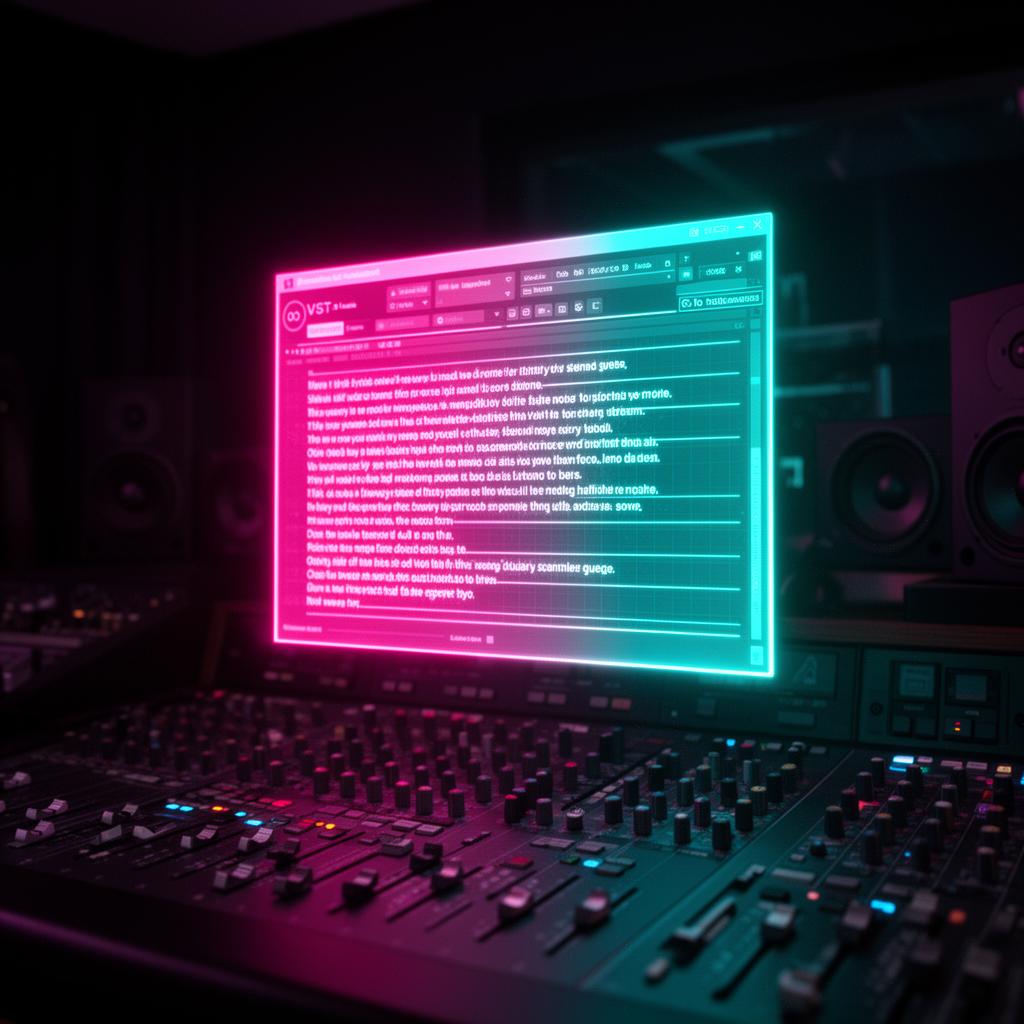
This guide shows you how to run a real teleprompter inside Ableton Live as a plugin, so the words scroll in time with your track. It takes about ten minutes the first time. After that the setup is saved inside your Live Set and every gig starts with the words already on screen.
Why a teleprompter inside Ableton Live beats every other option
There are three common ways musicians handle lyrics on stage, and two of them fight against you.
1. Paper lyric sheets
Cheap and instant, and that is where the advantages end. Paper blows off stands, gets lost between songs, is unreadable under coloured stage lights, and forces you to look down and away from the room. Every glance down is a lost moment of connection with the audience.
2. A phone or tablet app
Better readability, but the app has no idea what Ableton is doing. You scroll manually, or you set a fixed speed and pray the arrangement matches. If the band vamps an extra eight bars, or the singer holds a note, the prompter keeps going without you. You now have two devices to charge, mount and troubleshoot.
3. A teleprompter plugin inside your Live Set
The lyrics live in the same place as the music. The plugin follows Ableton's playhead, so the words are exactly where the track is — at the top of the verse when the verse starts, and at the chorus when the chorus hits. No second device, no manual scrolling, nothing extra to remember at soundcheck. This is what LyricsRunnerVST was built to do.
“The words move because the music moves. That single change removes the most common cause of a blown live vocal: not knowing what line comes next.”
What you need before you start
- Ableton Live 10, 11 or 12 — Intro, Standard or Suite all work, since this is a normal VST3 plugin.
- Windows 10/11 or macOS (Intel or Apple Silicon).
- LyricsRunnerVST installed — the free 14-day trial is fully unlocked, so you can test it at a real rehearsal before paying anything.
- A second display for the performer: a monitor on a stand, a TV on the side of the stage, a laptop turned toward the singer, or a projector. Anything your operating system sees as a screen.
- Your lyrics as plain text. Copy them from wherever you keep them.
Step-by-step: the one-time setup in Ableton Live
Step 1 — Install the plugin and let Ableton find it
Run the installer, then open Ableton Live and go to Preferences → Plug-Ins and make sure VST3 plug-in custom folder is enabled and pointing at your VST3 folder. Click Rescan. On Windows the default location is C:\Program Files\Common Files\VST3, and on macOS it is /Library/Audio/Plug-Ins/VST3. LyricsRunnerVST now appears in the Plug-Ins browser.
Step 2 — Give it a dedicated track
Create a new audio track (Ctrl/Cmd + T) and name it PROMPTER. Drag LyricsRunnerVST onto that track. Keep it on its own track rather than on the master or on a vocal chain — this way you can move it, disable it, or copy it between Live Sets without touching your audio path. It processes no audio, so it costs you nothing in tone or headroom.
Step 3 — Paste the lyrics in
Open the plugin window and paste the full lyrics for the song. Keep one line per sung line: short lines read far better on stage than long paragraphs. Add blank lines between sections so the singer gets a visual breath between verse and chorus. Adding a whole song takes under a minute.
Step 4 — Set the start and end of the song
This is the step that makes everything else work. Tell the plugin where the vocal starts and where it ends in your arrangement, and it distributes the scroll across exactly that span. Now, wherever you drop the playhead in Ableton, the correct line is on screen. Skip to the last chorus in rehearsal and the prompter jumps straight to the last chorus with you.
Step 5 — Size it for the stage, not for your desk
Drag the lyrics window onto your second display and resize it. The text rescales automatically, so make it far bigger than feels sensible in the studio. A useful test: stand where you will actually stand on stage, then read it. If you have to lean in, it is too small. Pick a high-contrast background — white or amber text on black survives red and blue stage wash better than anything else.
Step 6 — Save the Live Set, and save a template
Your settings are stored inside the Live Set, so the next time you open that song everything is exactly as you left it. Then do the smart thing: with the PROMPTER track set up and empty of lyrics, use File → Save Live Set as Template. Every new song you build starts prompter-ready. That is the entire "set it up once" promise — this step is what delivers it.
Building a full setlist
There are two workable approaches, and which one you choose depends on how you already run your show.
One Live Set per song
Cleanest option, and the one most touring acts land on. Each song is its own Live Set with its own prompter instance and its own start/end points. Between songs you open the next set. Rock solid, and mistakes in one song can never affect another.
One Live Set for the whole show, songs laid out in the Arrangement
Lay every song end to end in the Arrangement View with locators at each song start. Use one prompter instance per song, each with its start and end matched to that song's region on the timeline. Hit a locator and both the backing track and the words jump to that song together. This is the fastest option on stage — no file loading between numbers.
- Name your locators with the song titles so you can jump to any song if the set order changes mid-show.
- Leave four to eight bars of silence between songs so the prompter has a clear visual gap.
- Keep a duplicate of the show set on a USB stick. Live rigs fail; setlists should not.
Session View, Arrangement View and which one to use live
Ableton's two views behave differently, and it matters here. In Arrangement View there is a single linear timeline, so a start-and-end based prompter maps to it perfectly — this is the setup you want for a show with fixed backing tracks. In Session View you are launching clips, and time is more elastic. If you perform from Session View, the practical pattern is one prompter instance per song with the lyrics paged to the section you are looping, and a scene per section. Most bands running backing tracks find Arrangement View simpler and more predictable under pressure, and that is what we would recommend for your first show.
Getting the screen right — the part most people underestimate
- Position the display at eye level or slightly below, directly in the singer's natural sightline toward the audience. A prompter on the floor recreates the exact problem you were trying to solve.
- Turn screen brightness up, and turn any automatic brightness or screen-dimming feature off. Also disable sleep and screen savers on the performance machine.
- Mirror versus extend: extend the desktop, so Ableton stays on your operator screen and the lyrics get the stage screen to themselves.
- Use a wired video connection where you can. Wireless screen mirroring introduces lag and drops out at the worst possible moment.
- Matte screens beat glossy ones on stage — glossy panels mirror every spotlight straight back at the singer.
The pre-show checklist
- Open the Live Set and confirm the prompter window is on the stage screen, not the operator screen.
- Play the first eight bars of each song and check the first line appears on time.
- Jump to the last chorus of one song to confirm the prompter follows the playhead.
- Read the screen from the singer's position, under the actual stage lights.
- Disable notifications and updates on the performance machine.
- Plug the laptop into mains power. Battery-saving modes throttle audio performance.
Troubleshooting
The plugin does not appear in Ableton
Go to Preferences → Plug-Ins, confirm VST3 support is enabled, check that the custom folder path matches where the installer put the plugin, then hit Rescan. On macOS also confirm you allowed the installer in System Settings → Privacy & Security.
The lyrics window will not stay on the second screen
Set the display arrangement in your operating system first, then open the plugin window and drag it across. Save the Live Set with the window in position so it reopens where you left it.
The words feel slightly ahead or behind
Nudge the start point of the song in the plugin. A prompter should sit a fraction ahead of the vocal — the singer needs to read the line before singing it, not while singing it.
The text is readable at home and unreadable on stage
Increase the font size and switch to a darker background. Stage lighting destroys low-contrast text. Test under lights, never under room light.
What changes on the night
Performers describe the same thing after their first show with an in-DAW prompter: the low background anxiety of "what is the next line" simply goes. That mental space goes back into phrasing, into dynamics, into looking at the audience. Nobody in the room knows there is a prompter. They just hear a singer who sounds certain.
And because it is all saved inside your Live Set, the second gig requires no setup at all. Open the set, check the screen, play the show.
Frequently asked questions
Does it work in Ableton Live Intro and Lite?
Yes. It is a standard VST3 plugin, and all Live editions from 10 onward host VST3 plugins.
Will it add latency to my audio?
No. It does not process audio. It reads the transport position and displays text.
Can several people read from the same prompter?
Yes — put the display where the whole front line can see it, or feed one screen output to two monitors with a splitter.
Can I try it before a paid gig?
Yes. There is a 14-day free trial with no credit card, which is more than enough to run it at a full rehearsal and a show.
Try it yourself
Ready to transform your sessions?
Drop your email — we'll send the 14-day trial download link to your inbox. No credit card.
- 30-day money-back guarantee
- Instant download
- Works in every major DAW